Video
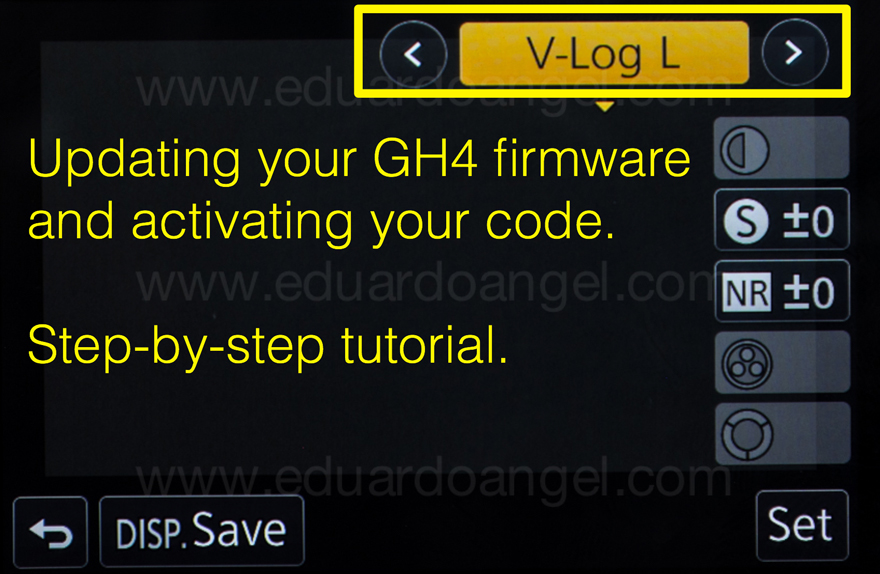
The Panasonic GH4 V-Log L is out! Step-by-step installation tutorial.
While the first steps to update the firmware to version 2.3 (which now FINALLY includes V-Log L) are the same as before, there are many new ones. I just installed the firmware myself and found the original instructions too confusing, so I rewrote the steps, captured screen shots and the camera’s menus hoping to save you some valuable time. I’m not a Panasonic employee, and I’m not being paid by anyone to write this post. If you have further questions or issues please contact Panasonic Tech Support directly. The link to purchase the firmware is here.
To watch a comparison between the default GH4 profiles and the V-Log L watch this video.
Ready? Let’s go!
Step A – Updating the camera’s Firmware.
- Prepare a fully charged battery and a blank SD card.
- Download the firmware version 2.3
- Extract the zip file and copy the firmware (xxx.bin) to the SD card.
- Insert the SD card into a camera.
- Set the camera to P mode.
- Turn the camera ON
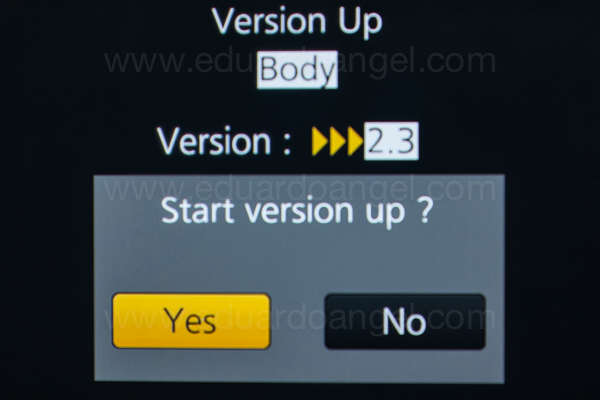
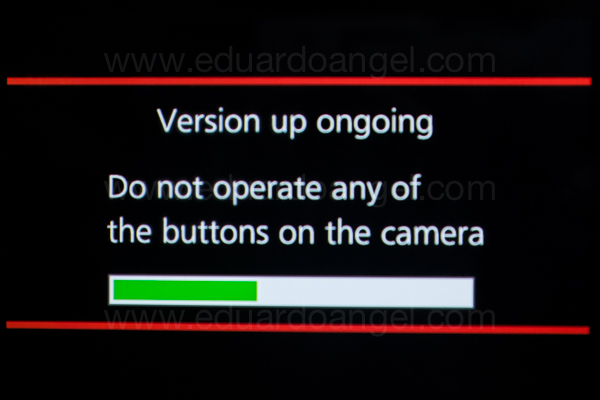
- Press and hold the playback button
- Select “YES” on the screen.
- The firmware update process only takes about 4 minutes.
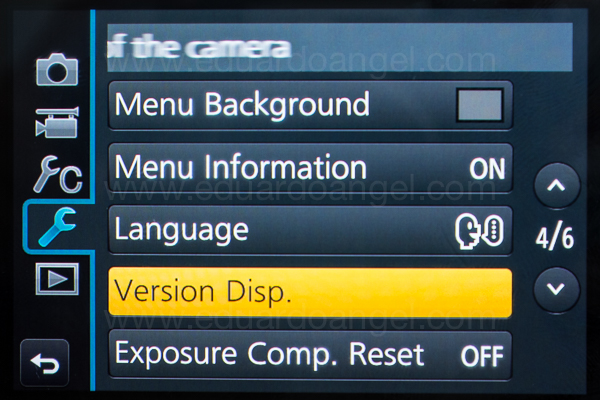
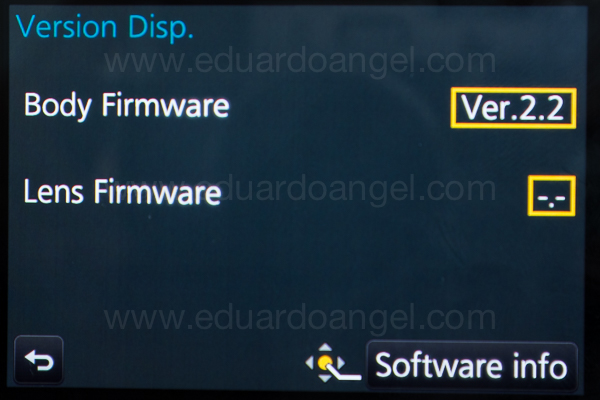
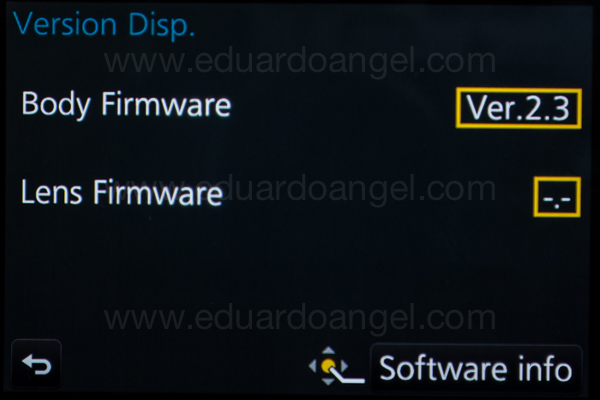
Turn the camera OFF and ON again, and check the firmware version

At this point, pretty much everything else is new.
Step B – Exporting the camera’s information
1. Insert (ideally another) formatted memory card into de camera
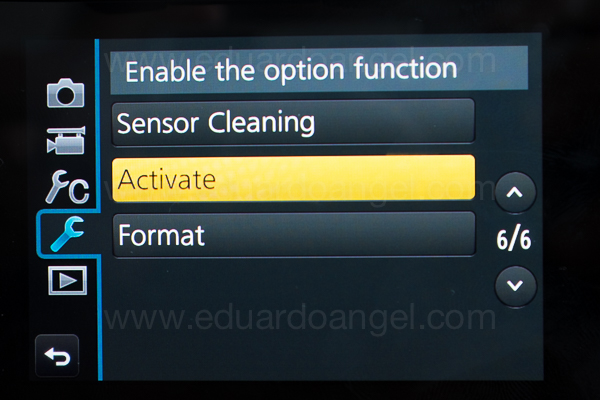
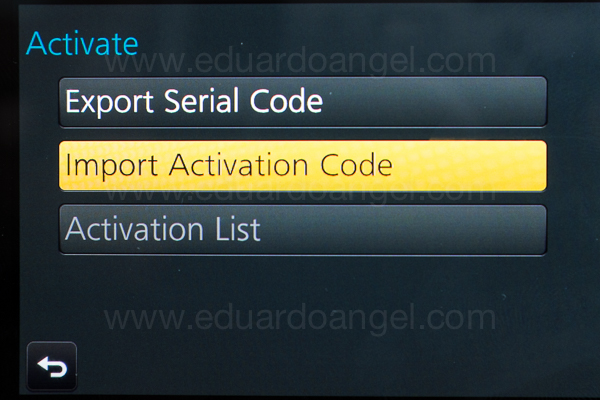
2. Select the menu:

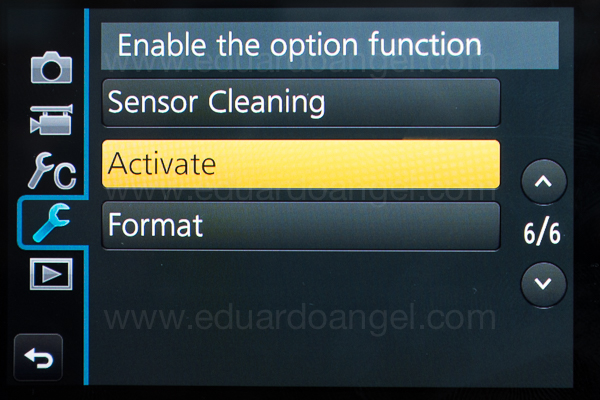
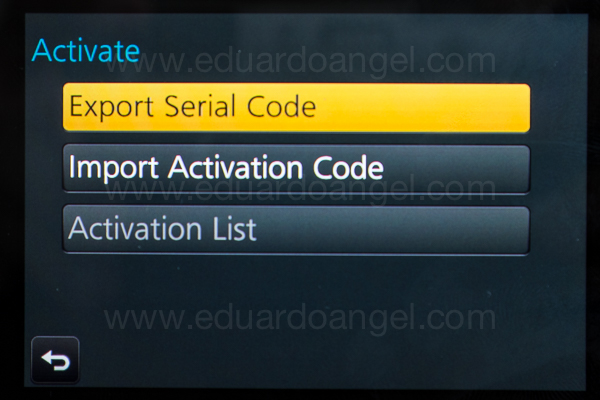
3. Select EXPORT SERAIL CODE and then press MENU/SET
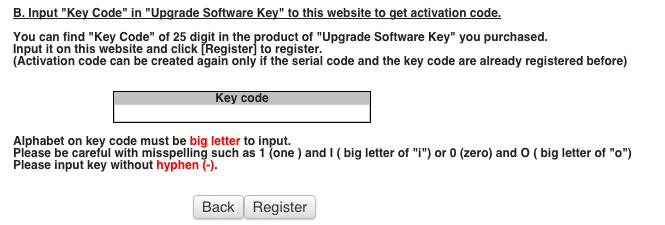
Step C – Acquire the Activation Code
1. Insert the SD card into your computer’s card reader. The computer must be online.
2. On your browser, paste the provided URL.
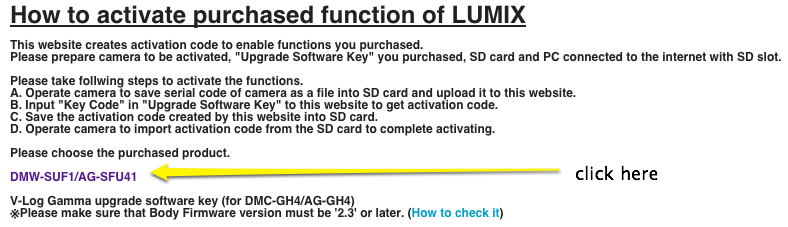
3. Click on DMW-SUF1/AG-SFU41
Then:
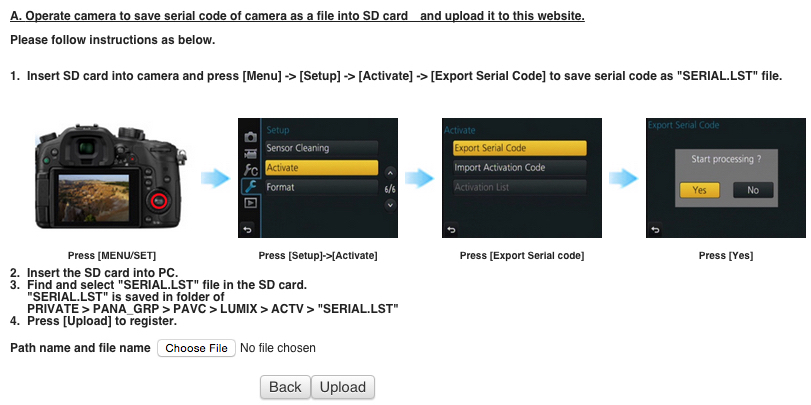
Follow this path to select the .LST file and click upload

Then:
Then:
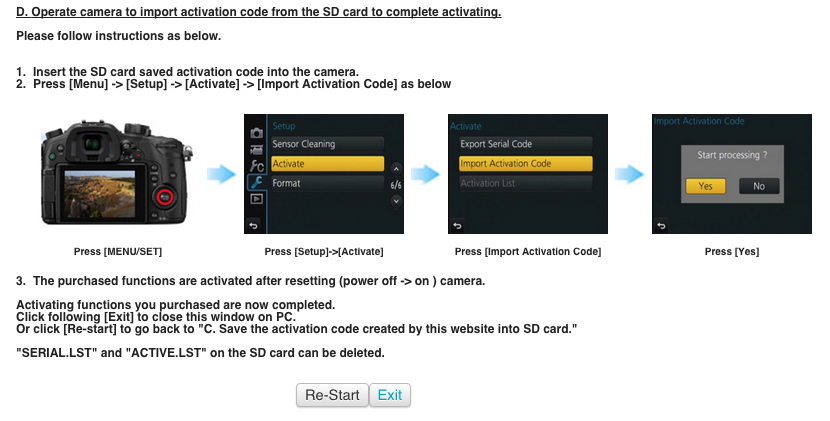
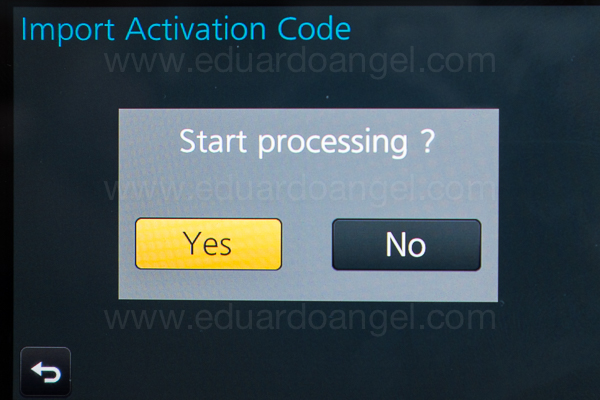
Step D – Import the Activation Code
1. Select the menu

2. Select “IMPORT Serial Code” and press MENU/SET

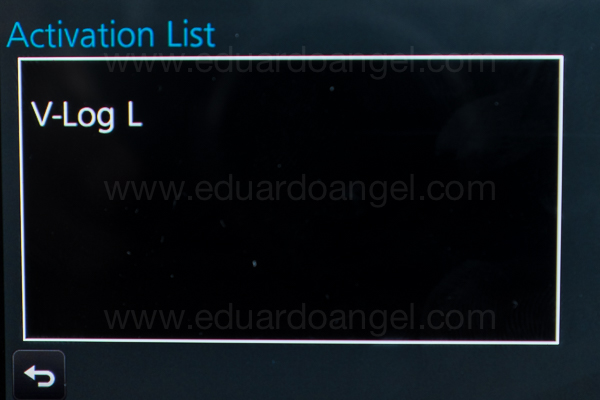
3. Turn the camera OFF and ON again. Switch to Motion Picture Mode, go to Photo Style, and Select V-Log L.
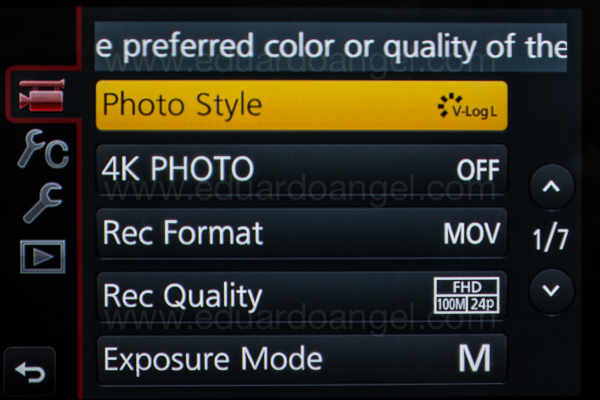
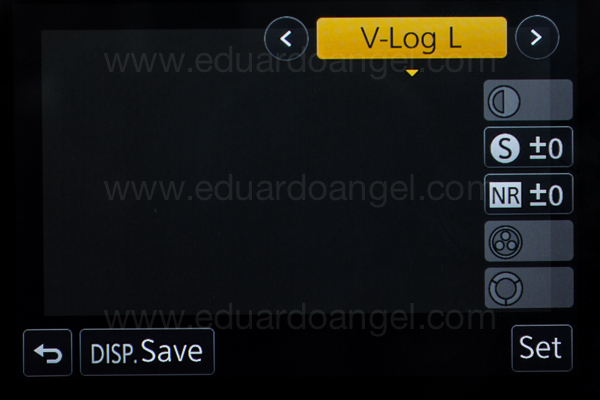
Something VERY important: While using the V-Log L profile the new base ISO is 400, not 200, so make sure to bring some ND filters along of you are shooting daytime exteriors.
The Panasonic GH4 V-LOG update can be purchased for $99 here by mid-September.
Happy Shooting!
Related Posts
- Hybrid Assignments Equipment List: The Essential 41 Items.
- The eternal quest for “the best” digital camera.
- Shooting Anamorphic and V-Log with Panasonic’s GH4. Valuable Lessons.
- 7 things we discovered after shooting 4K with the GH4. You won’t like #4.
- The Pros and Cons of external recorders: Atomos Shogun.
- 4K video under $2K. Meet the Panasonic Lumix GH4.
- I Just Got a Panasonic GH4 – Now What? Hard Drives.
- I Just Got a Panasonic GH4 – Now What? Batteries.
- I Just Got a Panasonic GH4 – Now What? Memory Cards.