Video
Lighting for Video Productions – Online Course


It doesn’t take a Hollywood budget to make to make the most of available light, and to learn simple tricks to reveal or obscure objects and subjects in your scene. Here’s your chance to learn field tested techniques to manipulate moods, add depth, and enhance your overall production with a few lighting tweaks.
Online Course
https://www.linkedin.com/learning/lighting-design-for-video-productions/welcome
SOCIAL
YouTube: EduardoAngelVisuals
Instagram: @VisualSerendipity
For all business inquiries please email us at contact@eduardoangel.com
Video
Camera Movement for Video Productions – Online Course


Learn wow to use the subjective power of movement and composition to guide the viewer’s attention and emotions.
SOCIAL
YouTube: EduardoAngelVisuals
Instagram: @VisualSerendipity
For all business inquiries please email us at contact@eduardoangel.com
Video
Cinematic Composition for Video Productions – Online Course


Composition is one of the least understood yet most important aspects of cinema. Using a wide variety of examples, Emmy Award-winning Director of Photography Eduardo Angel breaks down effective cinematic composition, shares his favorite compositional effects and techniques and even covers how and when to successfully break well established rules.
https://www.linkedin.com/learning/cinematic-composition-for-video-productions/welcome
SOCIAL
YouTube: EduardoAngelVisuals
Instagram: @VisualSerendipity
For all business inquiries please email us at contact@eduardoangel.com
Video
Lighting Techniques for Corporate and Documentary Projects – Online Course


Learn highly effective and time-saving techniques to produce compelling lighting for corporate videos, documentaries, short films, educational content and anything that requires harvesting available light and the use of practicals.
https://www.linkedin.com/learning/corporate-and-documentary-video-lighting/welcome
SOCIAL
YouTube: EduardoAngelVisuals
Instagram: @VisualSerendipity
For all business inquiries please email us at contact@eduardoangel.com
Video
Filmmaking for Photographers: The Essentials – Online Course


Expand your creative options and the range of services you can offer to clients by incorporating video and hybrid projects into your new 2020 skill set.
The Online Course
https://www.linkedin.com/learning/video-for-photographers-1-filmmaking-essentials/welcome
The Book
SOCIAL
YouTube: EduardoAngelVisuals
Instagram: @VisualSerendipity
For all business inquiries please email us at contact@eduardoangel.com
Video
Filmmaking for Photographers: On Location – Online Course


This is your chance to join an Emmy Award-winning filmmaker on location! Get a unique view, from concept to delivery, and experience how to capture stills, video, and sounds to produce a commercial for a boutique winery in beautiful Oregon.
The Online Course
https://www.linkedin.com/learning/video-for-photographers-2-filmmaking-on-location/welcome
The Book
SOCIAL
YouTube: EduardoAngelVisuals
Instagram: @VisualSerendipity
For all business inquiries please email us at contact@eduardoangel.com
Video
Pre-Production for Low-Budget Films.


Learn the entire pre-production workflow, from brainstorming to asset allocation all the way to actually pre-shooting your project. This course is geared to filmmakers working with small crews, but it offers essential lessons and resources for all content creators.
https://www.linkedin.com/learning/video-pre-production-for-low-budget-films/welcome
The best book for Photographers getting into Video.
SOCIAL
YouTube: EduardoAngelVisuals
Instagram: @VisualSerendipity
For all business inquiries please email us at contact@eduardoangel.com
Video
Post-Production for Low-Budget Films.


Experience a post-production workflow that is far from traditional, but is extremely efficient and logical. Recommended hardware, software and apps, batch renaming, 4K Proxy workflow, GPS tagging, the correct steps to color correct and grade footage, and even how to safely back-up and archive your projects.
https://www.linkedin.com/learning/video-post-production-for-low-budget-films/welcome
The best book for Photographers getting into Video.
SOCIAL
YouTube: EduardoAngelVisuals
Instagram: @VisualSerendipity
For all business inquiries please email us at contact@eduardoangel.com
Video
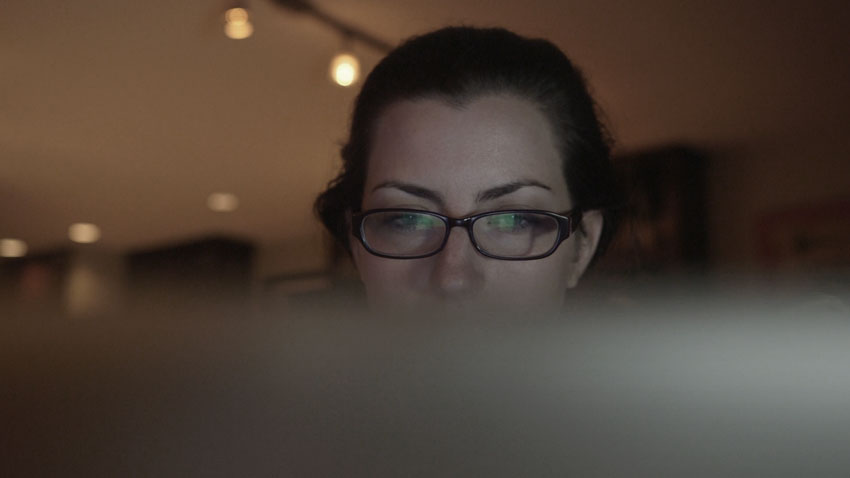
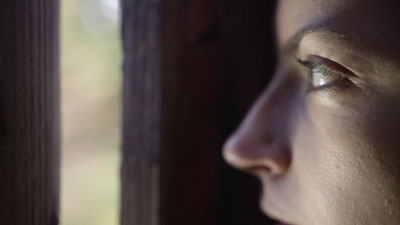
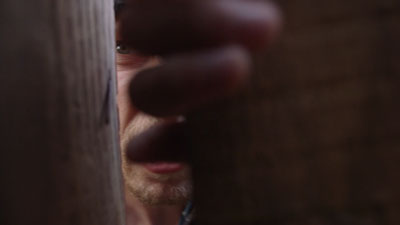
Cinematic Composition for Video Productions on Lynda.com
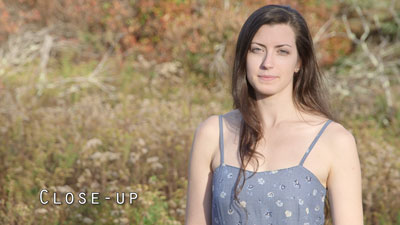
Composition is one of the least understood yet most important aspects of video. Like good storytelling, in order to achieve good video composition you have to make every detail count and keep the audience engaged in your story. In this course, we break down effective cinematic composition, to show how to create different compositional effects using a variety of techniques. Beginning with basics such as shot size, depth of field, and the rule of thirds, we show how to establish a scene, play with perspective and movement, and incorporate some of the most common shot types, including close-ups and group shots. Once you’ve learned the rules, see how to break them, using warped perspectives and intentionally confusing sequences, before exploring technical considerations such as lenses and lighting.
Topics included on this course:
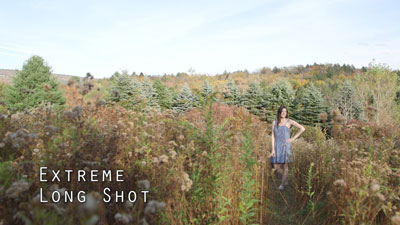
- The basics of composition
- Exploring the rule of thirds
- Comparing balanced and unbalanced compositions
- Understanding the importance of using establishing shots
- Working with point of view
- Modifying the height of the camera
- Understanding the lines of a scene
- Creating depth
- Incorporating unusual or unexpected angles
- Knowing when to break the rules
- Using viewfinder apps
The complete course is currently available on Lynda.com. If you aren’t a Lynda.com subscriber, feel free to use my link for 10 days of unlimited access.
Here are some of the many examples on this course:
Video
Camera Movement for Video Productions on Lynda.com
Filmmaking is a medium defined by motion: not only the action that occurs within a frame, but also movement of the camera itself. It’s the ability to employ camera movement that separates new videographers from the pros. In this course, we cover the importance of camera movement and the benefits of integrating it into your video productions. The lessons are explained through a series of examples that compare static shots to their dynamic counterparts, showing exactly how camera movement contributes to each scene, whether it’s increasing drama, following action, directing viewers’ attention, revealing key details, or simply transitioning between shots in a sequence.
Topics included on this course:
- Exploring the different types of camera motion
- Panning and tilting
- Zooming
- Racking
- Tracking on sliders vs. dollies
- Stabilizing camera movement
- Working with cranes, jibs, and mounts
- Choosing the right camera for motion
The complete course is currently available on Lynda.com. If you aren’t a Lynda.com subscriber, feel free to use my link for 10 days of unlimited access.
Video
Camera Movement Techniques – Panning and Tilting 101
There are many simple techniques you can use to craft and enhance your video productions and sculpt your audience’s perceptions of your stories. Below we’ll provide some ideas on how you can effectively use panning and tilting in your next shoot.
Go ahead and move your head from left to right. Now move it from right to left. That’s panning, plain and simple. This technique is great for following a subject as it moves across the frame, or, you can use it to redirect the viewer’s attention to reveal new details.
Now move your head up and down, as if you are emphatically saying Yes. This is tilting. You can achieve a great deal with a simple tilt, including:
• Bringing the viewer into a scene
• Emphasizing the significance of a subject
• Revealing details in a scene
• Showing the vertical size of an object
Panning and Tilting in Practice
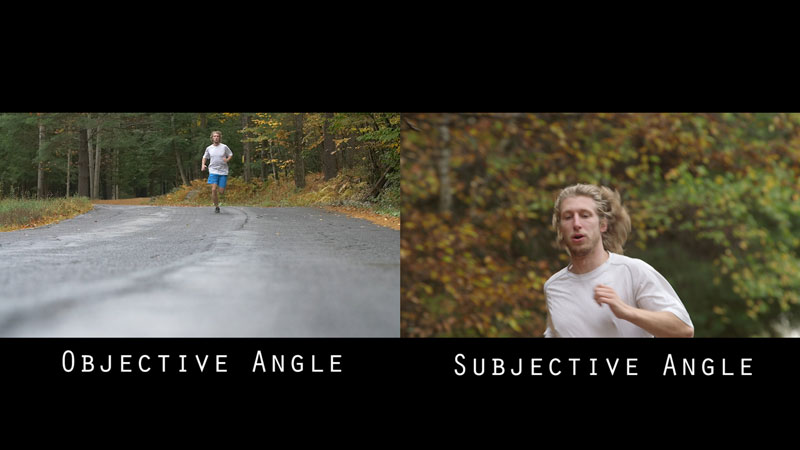
As panning and tilting motions are similar to how our necks move, feel free to use these techniques together in a production. You can craft a character’s point of view (POV) or make it appear as if the action is being observed by someone else.
Remember to consider the height of the camera when plotting your shots as this will determine the physical and psychological perspective from which the audience views your subject. For example, if your camera is at about eye level with your subject, when tilting up it looks like someone is looking at the subject’s shoes and then up to their face. When tilting down, it appears as if someone from a higher vantage point is looking downward and has suddenly discovered the subject. A few more things to remember when performing your pans and tilts:
• Very quick pans can be used as transitions between scenes. This is what we call “in-camera editing.”
• A slow pan or tilt allows the viewer to take in all the visual information in the scene.
• A fast pan or tilt, something typical from Wes Anderson and Paul Thomas Anderson films can disorient the viewer and jolt their attention to a new point of focus.
Smooth Moves
More often than not, we want our pans and tilts to be steady and fluid, unless, of course, the story calls for the camera to shake. In order to capture truly smooth movements, it is essential to properly set up and counterbalance the tripod. Be sure to fine tune the tension, so the tripod does the heavy lifting for you.
If you’re able to block out shots in advance, practice the movements several times before even rolling the camera, and adjust the tension accordingly. Generally speaking, you’ll want to set the tripod’s head with less tension for close or fast-moving subjects, and increase the tension for slow movements.
To sum up, you can achieve a great deal in your next video/film production by using the relatively simple techniques of panning and tilting. From guiding your viewer into a scene to crafting a unique transition between scenes, you can employ pans and tilts in a variety of ways to finesse your narrative.
Want more tips? Watch our filmmaking courses on Lynda.com
Have specific questions? We’re here to help. Contact us today and let’s meet on-site or online.
Video
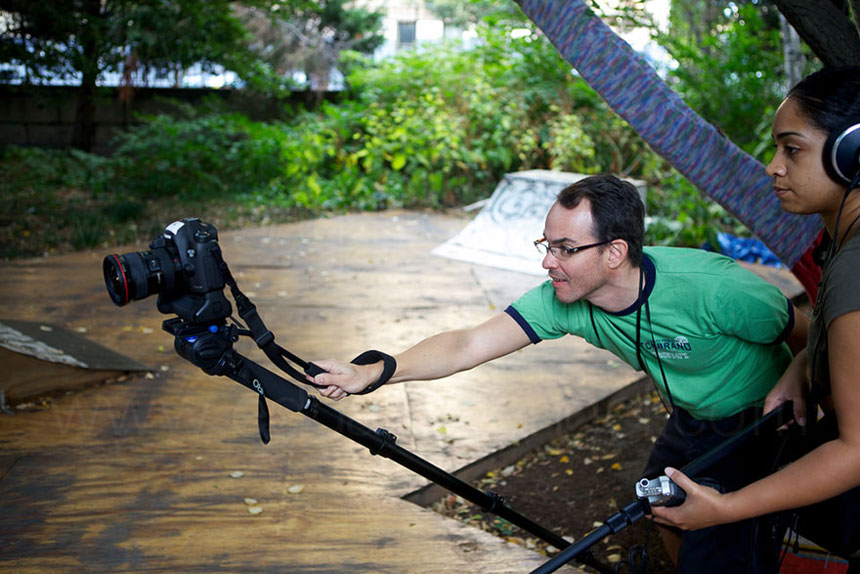
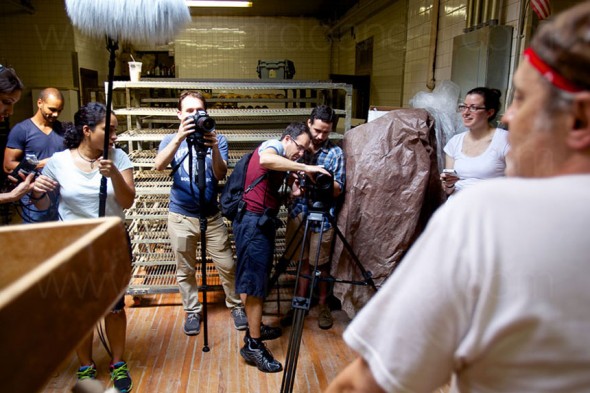
How to avoid the slideshow look when shooting video.
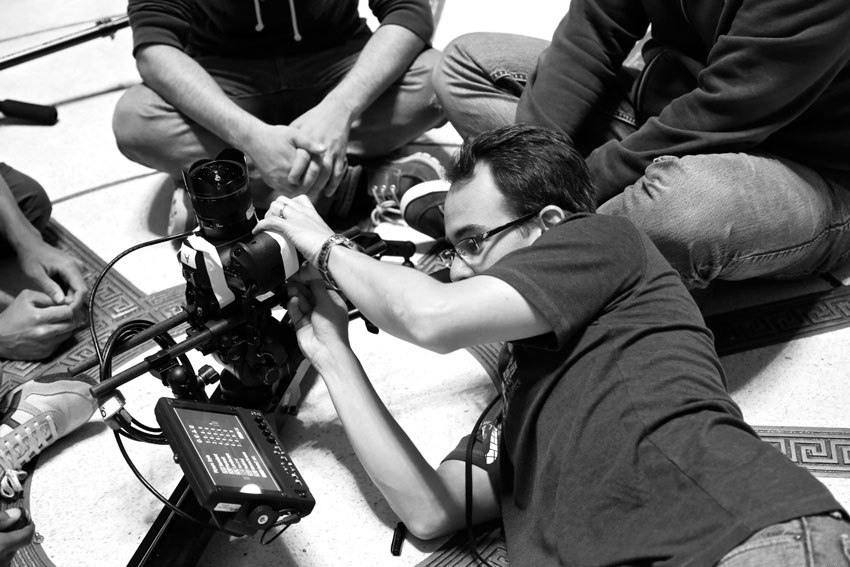
As we discussed previously, one piece of equipment you will be able to find in almost most any photographer’s kit is a monopod. This tool provides enough stabilization for us to open up the aperture and work with longer exposures. But, how well does this piece of equipment translate for someone making the transition from stills to video?
When it comes to shooting video, monopods often gets a bad rap. They are not stable enough. It’s impossible to get smooth pans and tilts. What if I need to walk away from the camera to adjust the lighting or sound?
Many people will tell you that the first thing you need to buy to support your camera is a good fluid head tripod, but I actually often recommend a monopod over a tripod for someone who is just starting out as a filmmaker. The monopod’s “limitations” force us to think differently about the borders of our frame. And it is a simple way to introduce camera movement and avoid the locked off “slideshow” look that is prevalent in so many DSLR productions.
Most critics of monopods often come from a narrative filmmaking perspective and do not take into consideration the conditions that are common for run and gun documentary style filmmaking. If you are trying to capture unpredictable, real time action, it is nice to be able to move quickly through a crowd without knocking people down. Adjusting the height of your tripod can be a real pain if you are working with a heavy camera rig and do not have an assistant or grip helping you set up. Another important consideration if you are planning to shoot on a street of a big city like NYC is that tripods often require a permit, but monopods are perfectly acceptable. Go figure.
If you are working with a small crew and under a tight schedule a monopod can provide you just enough stability, while still retaining a small footprint and flexibility.
Of course it is important to remember that a monopod will never be a complete substitute for a tripod. It will never provide the same degree of stabilization for static shots and pans and tilts especially when working with long focal lengths or long shot durations. You certainly don’t want to be caught filming a two hour-long interview on a single leg and in certain situations the inherent sway of a monopod can be incredibly distracting. There are very few cameras that can produce decent handheld footage without some form of rig or stabilization. So here’s a simple rule of thumb: use a monopod on any scene that you might consider shooting handheld.
Another option would be to use a shoulder rig, but how often is the most dynamic angle for a scene going to be shot from shoulder height? Not often.
With a monopod you can get the angles you want and have the floor as opposed to your shoulder supporting the camera’s weight. Even if the tip of the monopod is not touching the floor its weight can do wonders to support your footage. Because of its small footprint it doesn’t add much to bring it along with your kit and it could be just what you need to get out there and start shooting.
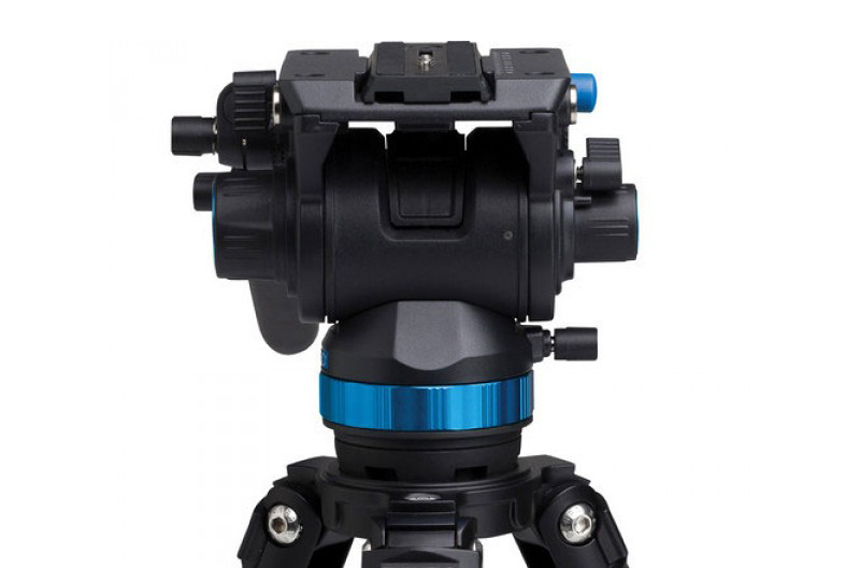
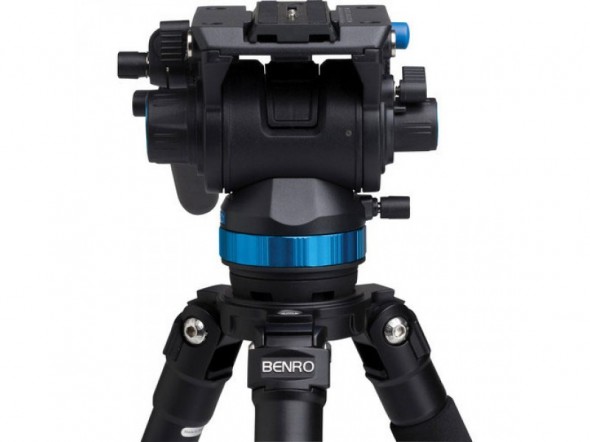
To learn more, check out our new Camera movement course on Lynda.com, where we worked extensively with Benro Monopods and Tripods to show off the advantages and disadvantages of each.
Video
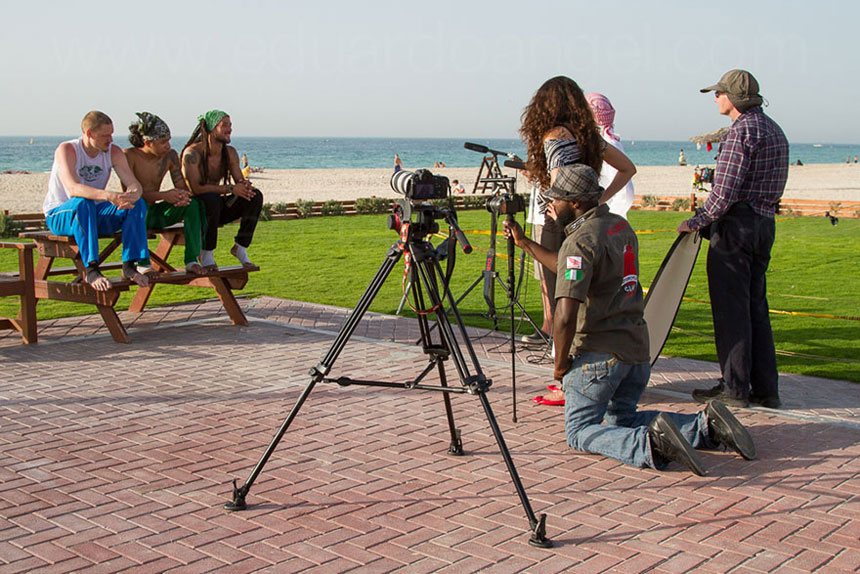
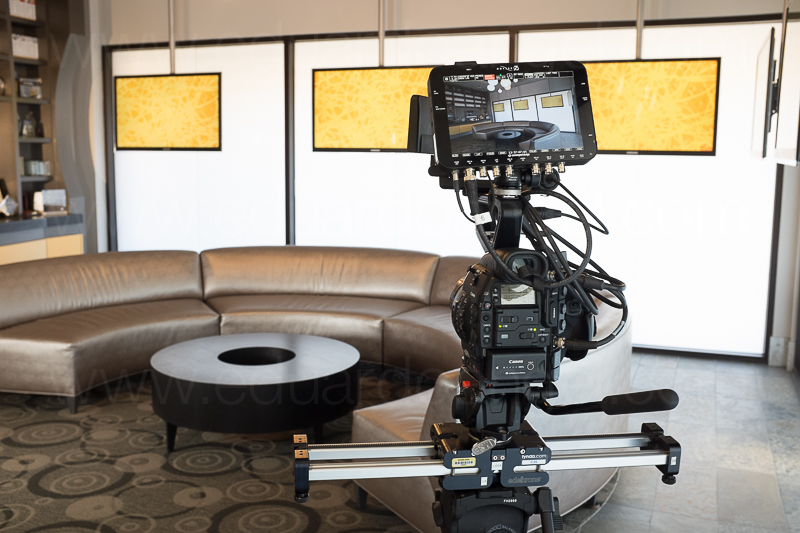
Camera Movement – Tripod or Monopod?
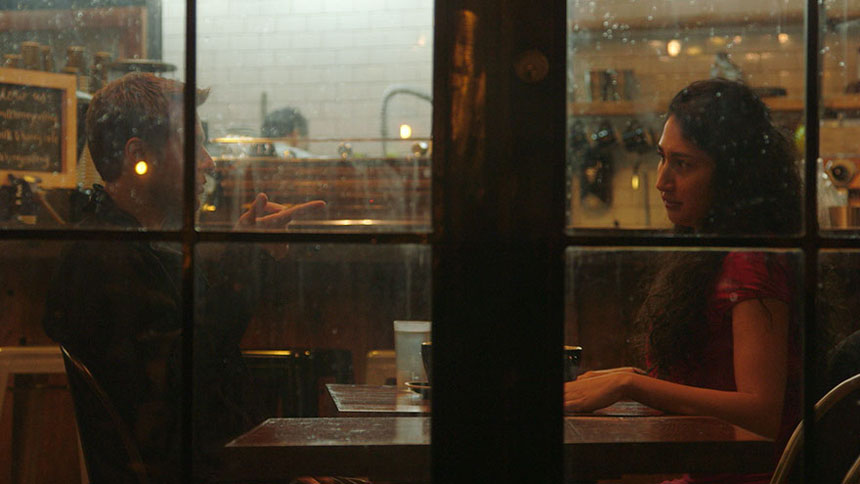
Unlike still photography, filmmaking is a medium defined by motion. Motion is the action within the frame—but it’s also the motion of the frame itself. Even a series of well-lit and well-composed shots can be perceived as a slideshow rather than a story in motion if the shots remain “stagnant.” Nowadays we’re so used to seeing camera movement in Hollywood films that we expect to see movement in all the videos we watch—even if we don’t know much about filmmaking.
Here’s the same scene shot handheld, with a monopod and on a tripod. The mid ground between these two extremes, is the monopod. It has a little bit of movement, which adds a layer of realism. It conveys a scene straight out of a reality TV show, perhaps.
On this article we discuss the primary tools for accomplishing camera movement—and when to use which.
When, and why would I use a monopod over a tripod? If I have to pack light, I’m working by myself, need to be very quick, I’m using a light camera system with a shotgun, and a little bit of movement is okay, I would choose a monopod.
To learn more, watch our new course Camera Movement for Video Production on lynda.com.
Photography
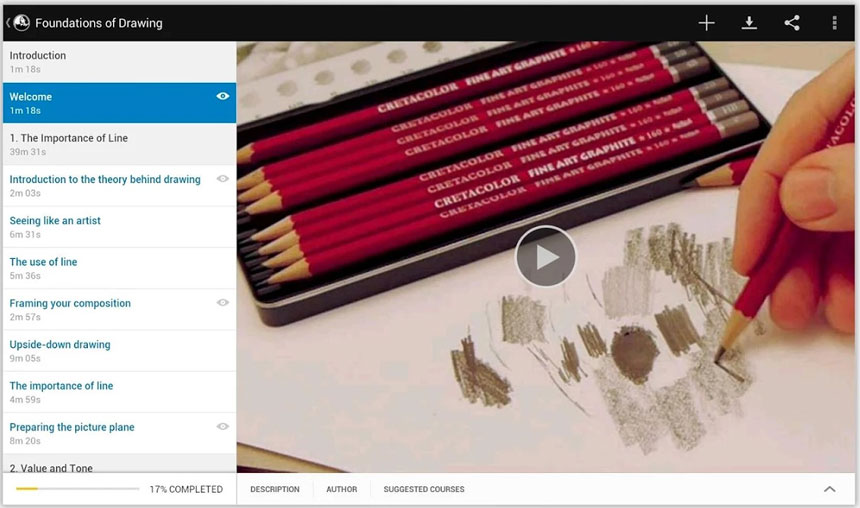
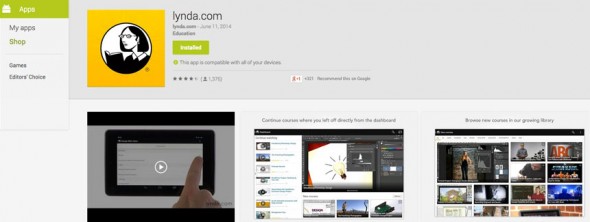
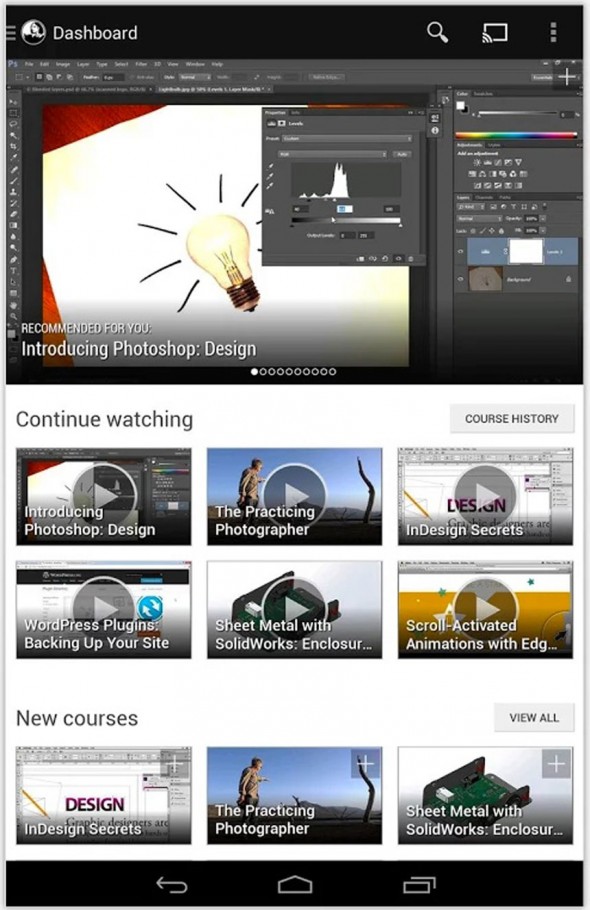
Lynda.com Updates Android App.
Finally! Lynda.com just announced a new Android app where users can download courses and watch them offline. I believe a premium membership is required, but this is something I’ve been requesting for a long time. I can now keep up with new courses on my daily subway commute!
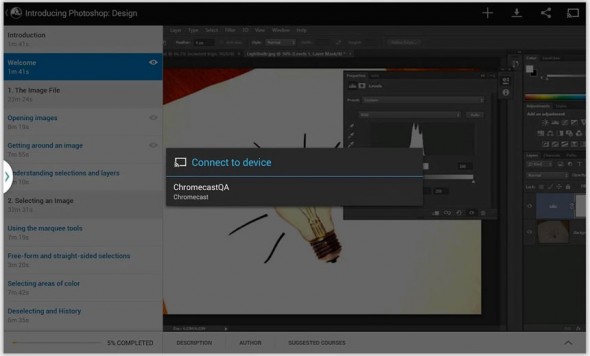
Another welcomed update is that we can now stream courses via Google Chromecast. I’ll definitively take advantage of this in the winter while exercising on a stationary bike and learning something new!
Lynda also added an “Article Center” which is full of great and free content. If you are not a Lynda.com subscriber, here’s a free 7-day trial on us: lynda.com/trial/EduardoAngel
Here’s our “Lighting for Video” course. We’ll have another one on “Camera Movement” available very soon. Stay tuned!
Video
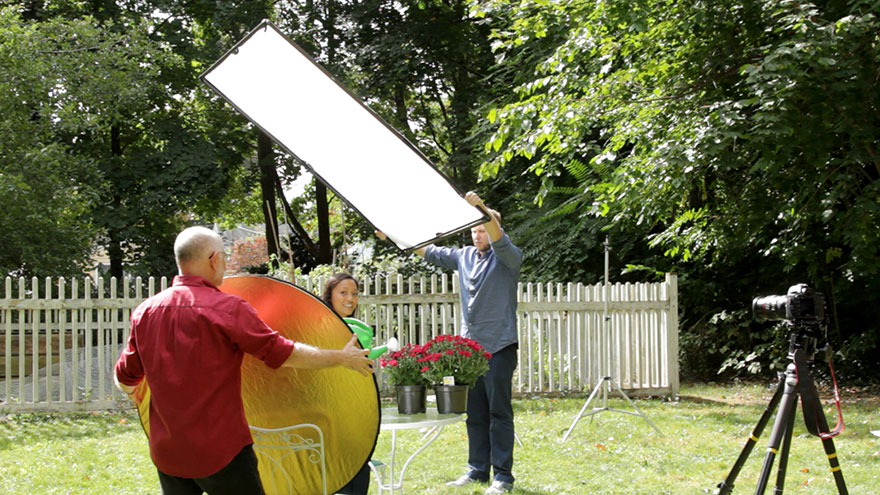
The Importance of Lighting for Video.
A few days ago our very first online course at Lynda.com went live. As is always the case, when we look back at a finished project we find little things here and there that we could have improved or done differently—but I am very proud with what we have here. (more…)